


Our products arrived in good time and exactly what we order.
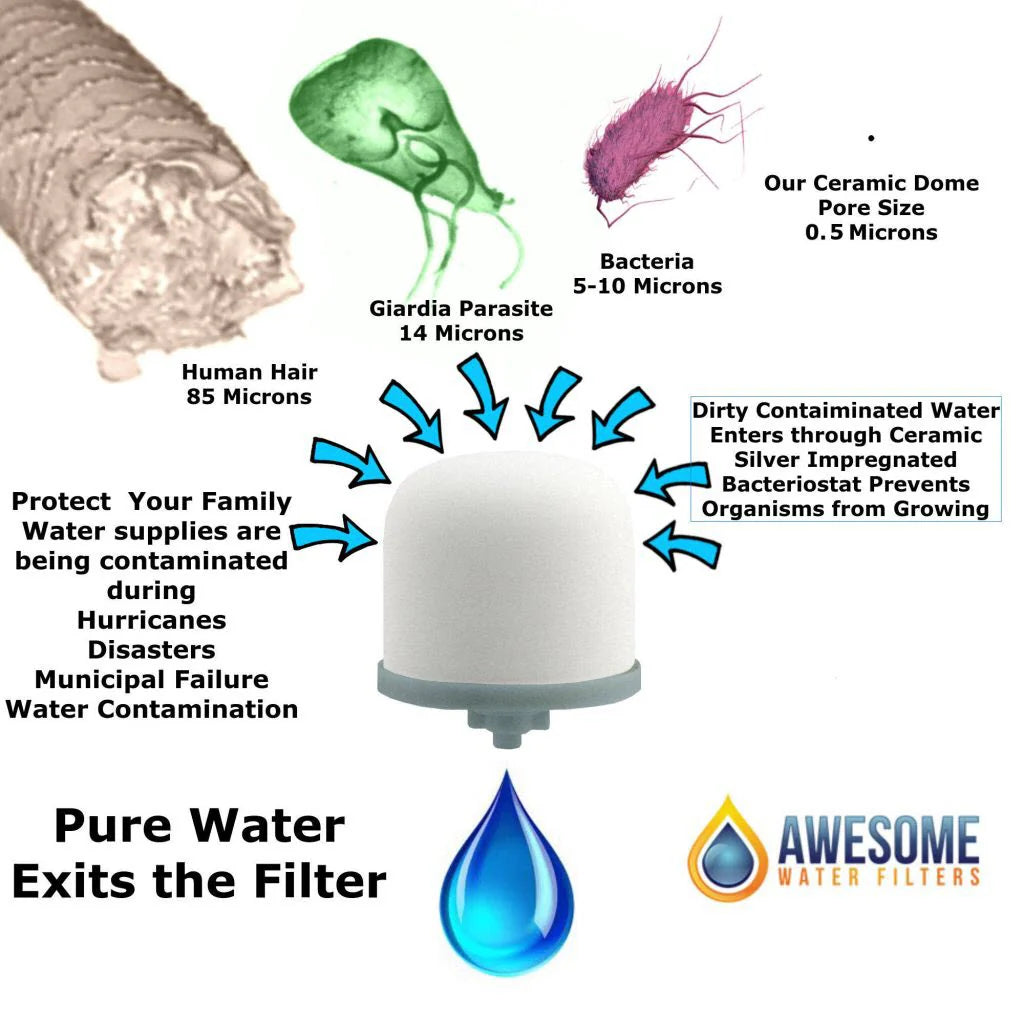
I think it would be good to put instructions in with the ceramic dome about scrubbing it. Mine wouldn't filter. I contacted your site to find out why. I didn't have that problem with my first ceramic filter.
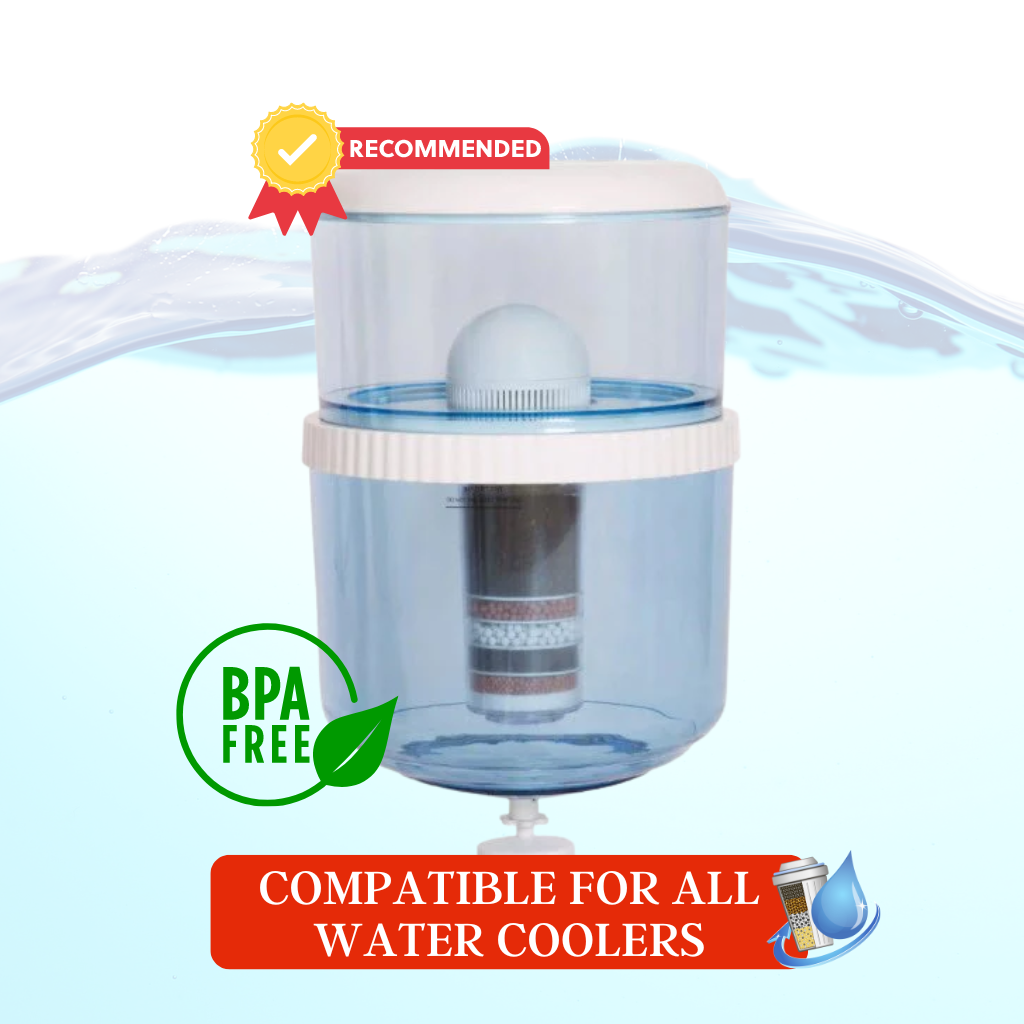
I have filter water on tap again nice and cold
Great machine ! Easy to assemble & set up
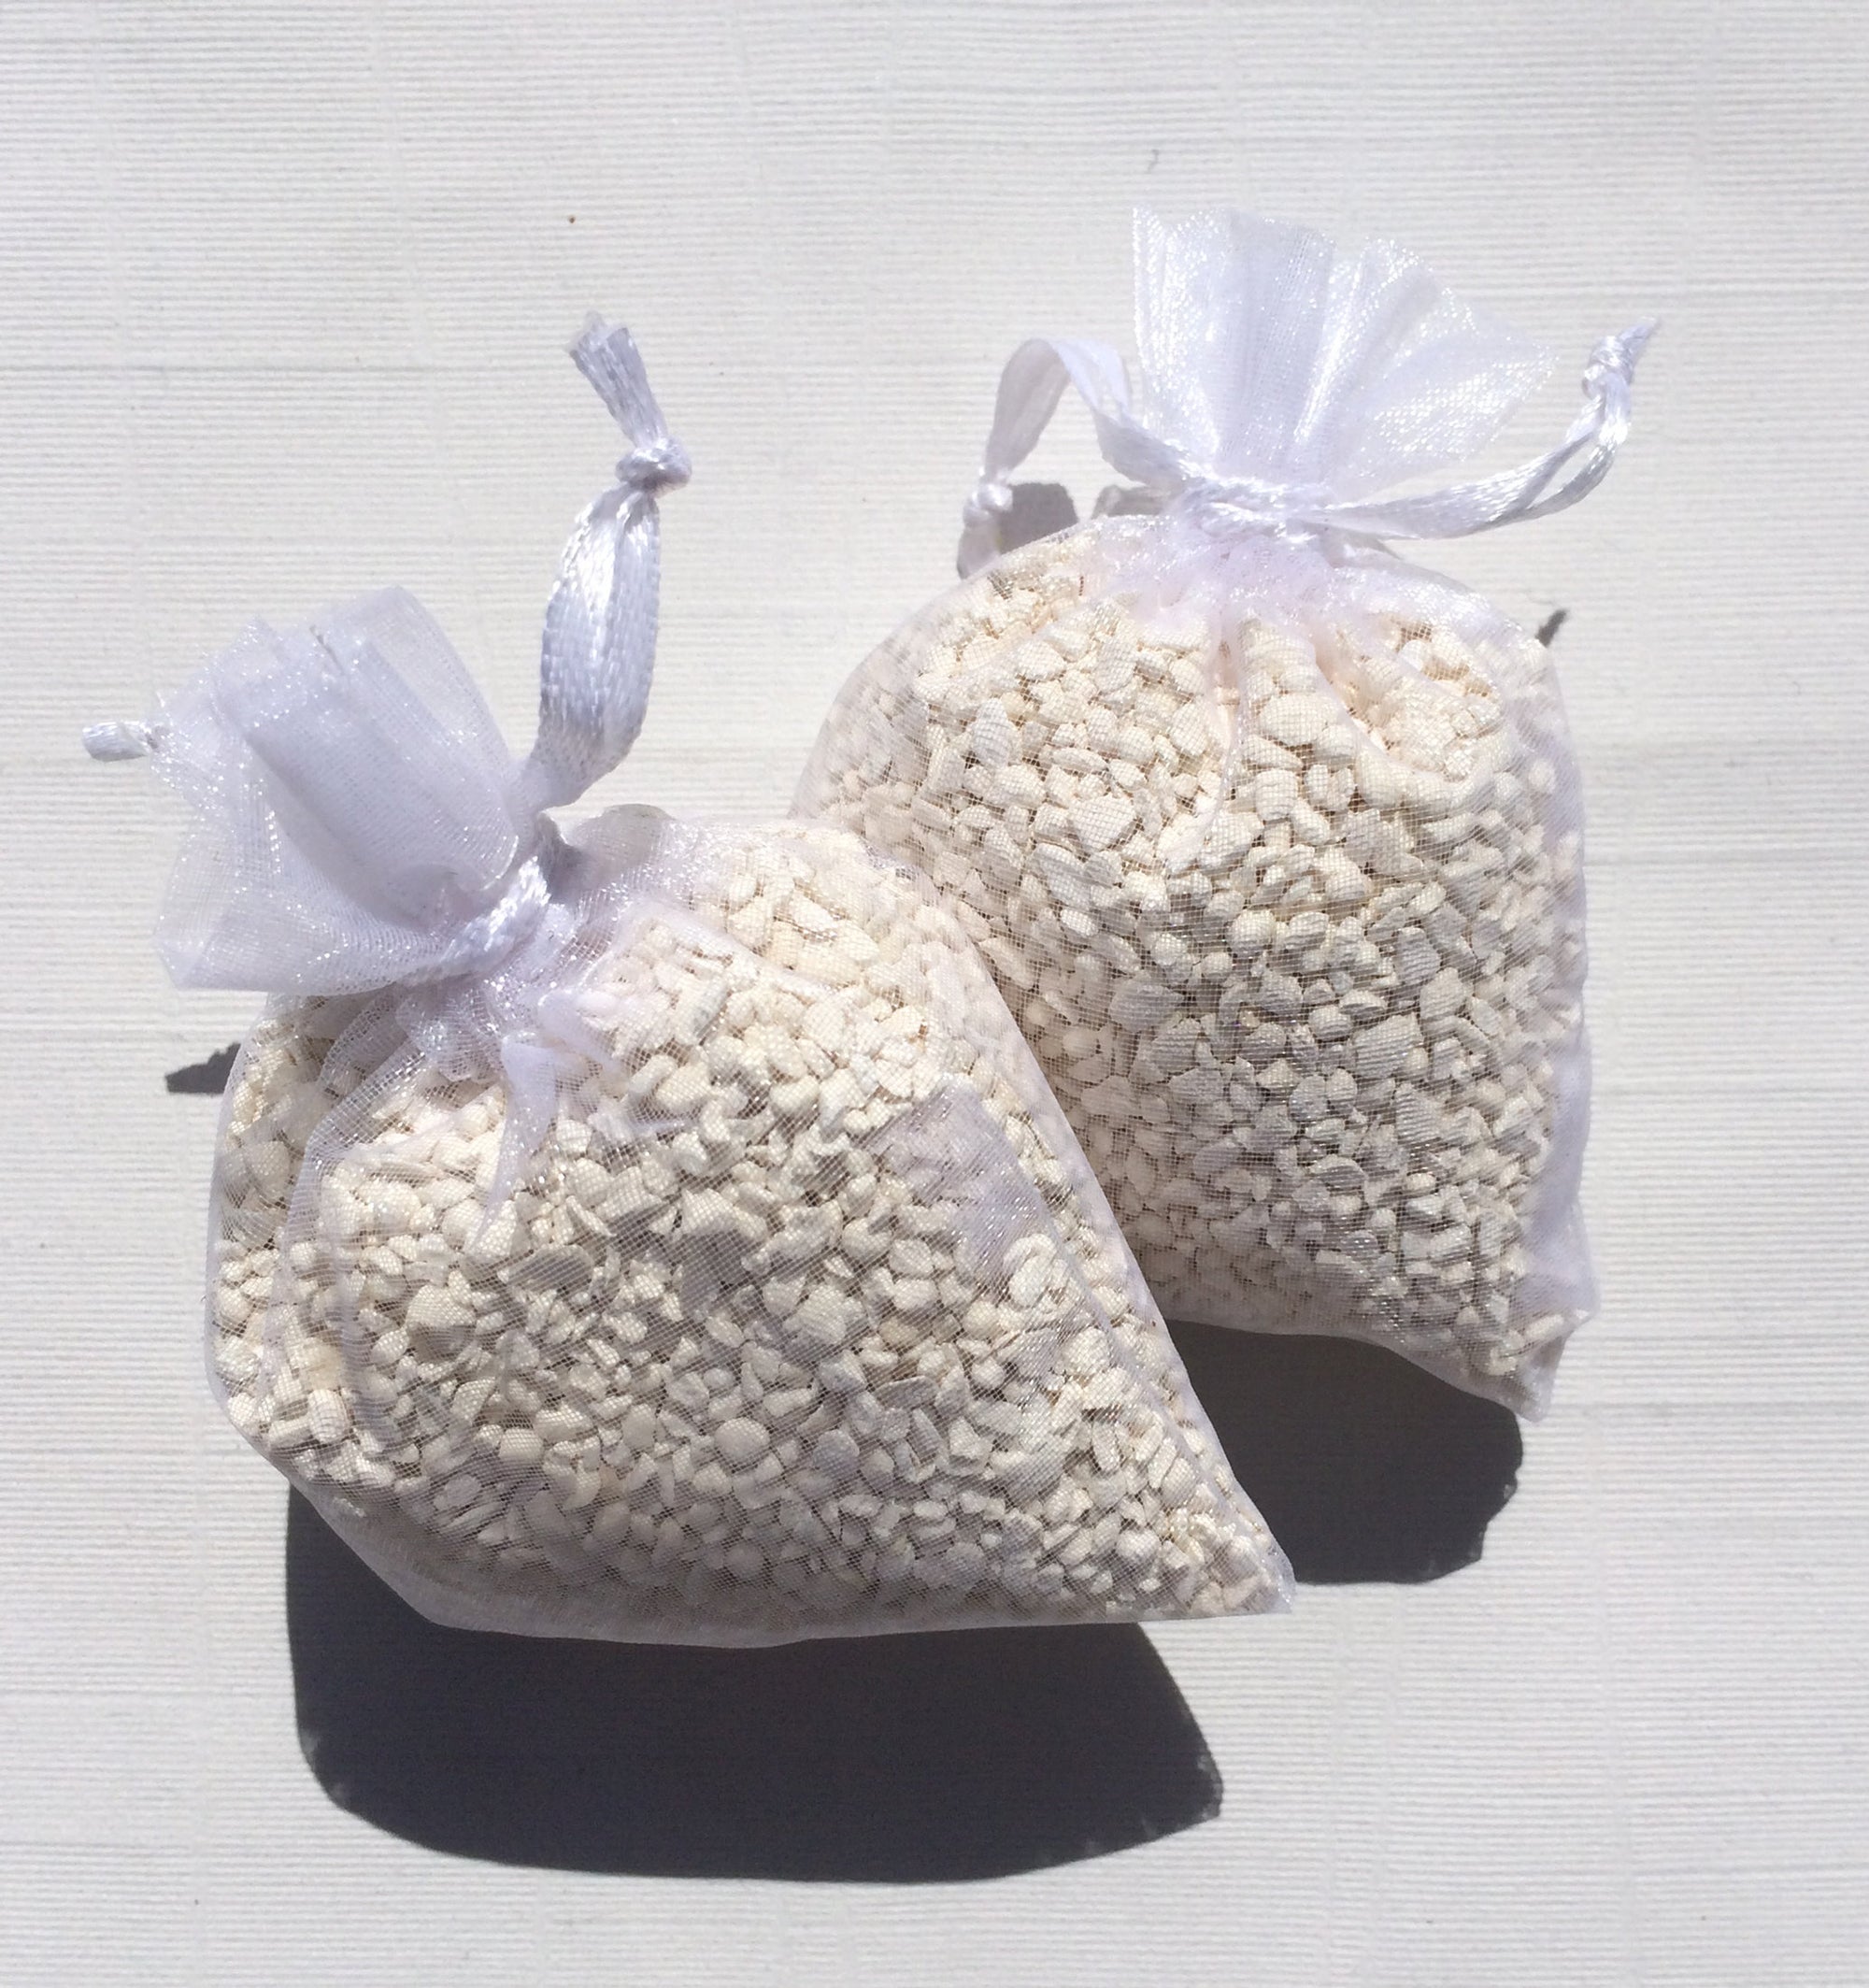
I have already been using the filters for years but this has made it even better.