September 15, 2021 4 min read
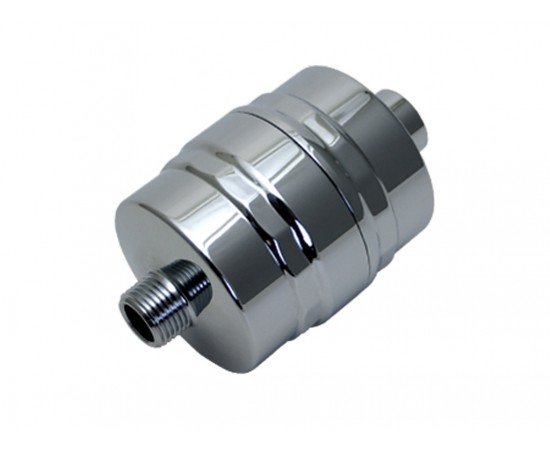
When you take a shower, a shower filter helps remove dangerous chlorine from the water. Even if the chlorine concentration is low, it can cause your skin to feel tight and dry. A shower filter will keep your skin supple while also removing any unpleasant odors from shower cleaners. To support its performance at its peak, it would be best to know how to clean shower head filter properly.
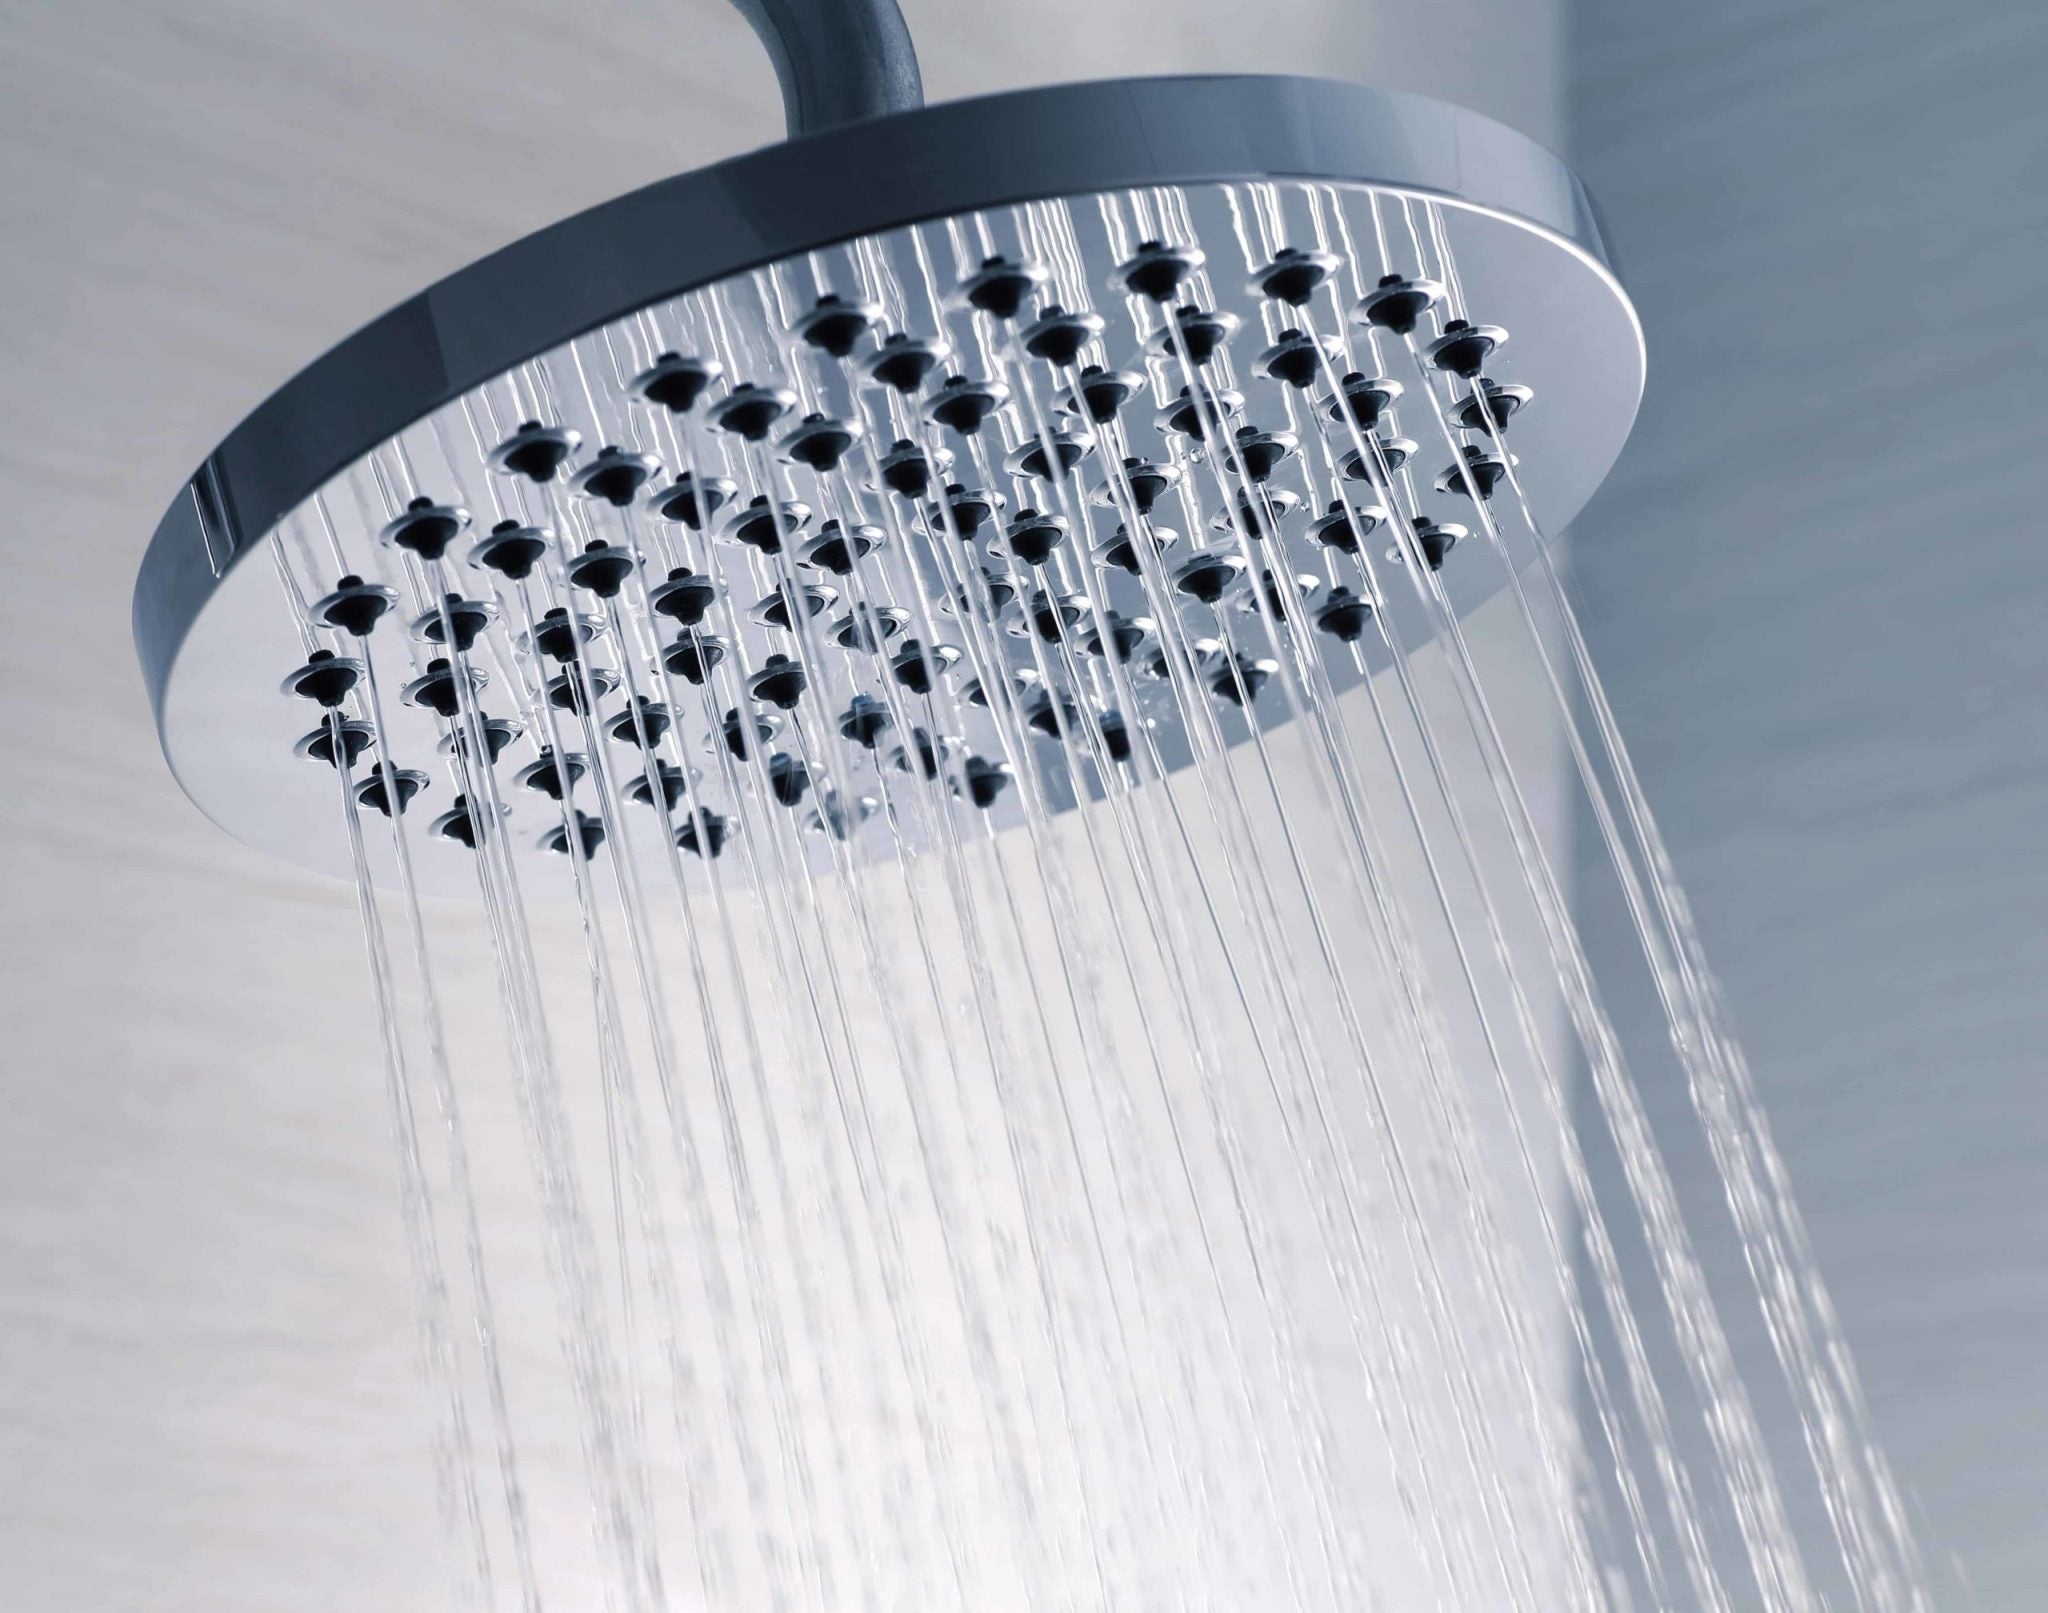
Your showerhead is one of your home’s hardest-working appliances, but it’s also one of the most neglected when it comes to cleaning. While cleaning your shower head is arguably one of the least pleasant housekeeping duties, we’ll teach you how to do it without much effort on a few common household items.
While it’s supposed to pour soothing streams of warm water over your body every morning, dirty showerheads often clogs with bacteria and mineral buildup. As a result, it poses a health risk.
To solve a problem, it’s generally preferable to figure out where it came from in the first place. Showerheads become clogged for a variety of reasons:
All of these have one thing in common: water. There is no way around it, unfortunately. Whether you use city or well water, minute particles pass through on a microscopic level. Plus, it’s harmless as long as we clean our shower heads regularly.
The majority of showerheads can be removed for cleaning, making it easier to remove dirt and clean the filter screen. If you follow these procedures, you’ll have a clean shower head all year.
Most of the time, it’s as simple as twisting the connecting nut counterclockwise with a cloth wrapped around it. Apply consistent pressure, but don’t go overboard. If your showerhead doesn’t twist off easily, go to the manufacturer’s website for detailed instructions on removing it securely.
You can find this part near where the showerhead unit attaches to the shower pipe. It appears to be a metal mesh disc encased in a rubber gasket. Its purpose is to trap bigger particles and aid in the prevention of leaks. Consult the manufacturer’s website if you don’t see it. To get it out, you’ll probably need a set of needle-nosed pliers or tweezers. After removing it, clean it gently with a brush before rinsing it.
Submerge the showerhead in five cups of white distilled vinegar in a medium dish, ensuring the nozzles are completely coated by vinegar. Allow about an hour or two of soak time.
Scrub your shower head with a tiny brush once the mineral deposits have been softened. The sediments should be easy to remove. Clear clogged nozzles with a paperclip if necessary. Rinse with warm water and disinfect the entire unit with a spray cleaner. To restore the luster of your shower head, wipe it down with a soft cloth and polish it.
Replace the filter screen removed, then thread the showerhead back onto the pipe with care. Over-rotating or breaking the threads can cause leaks, so be gentle. Twist the finger clockwise until it is tight. Check if any water is spraying or dripping from the connection bolt by turning on the water. If that’s the case, carefully twist it with a wrench over a thin cloth until it’s no longer dripping.
Fill a sturdy bag with roughly two cups of white distilled vinegar that will comfortably fit over your shower head.
Pull the bag with vinegar up and then around your unit to completely submerge the showerhead. Secure the plastic bag around the showerhead pipe with a zip tie.
Allow an hour or two for this to take effect.
Remove the bag and run hot water through the nozzles of your shower head to flush out any inner mineral deposits.
Scrub the front of the unit with a tiny brush. Refresh with hot water and repeat until the head is clean. Apply a bathroom cleaner and polish with a soft cloth to finish.
According to experts, you should clean your showerhead thoroughly at least once a month, but weekly cleanings are crucial in preventing major accumulation.
Spray the shower head with a vinegar-based cleaning solution every week as you exit the shower for hassle-free cleaning. It will help prevent calcium accumulation and keep slime at bay, eliminating a breeding habitat for germs and mold.
While your first instinct might be to reach for the bleach, hold off. Scientists discovered that cleaning shower heads with a bleach solution raised the number of bacteria in the shower heads threefold! You can do the cleaning in a safer, non-toxic manner that will eventually be more effective.
While it may be tempting to explore the supermarket for a chemical cure, this may not be in your best interests. Most manufacturers do not recommend using harsh chemicals to clean your shower head since they can damage it.
When it comes to cleaning, brute power is frequently a factor to consider. And what better way to get the job done than with a rough nylon brush and some elbow grease? Wrong! Certain powder-coated finishes, such as Oil Rubbed Bronze, can be damaged or lose their shine when scrubbing too hard.
Don’t take your shower filters for granted. You should know when to clean and how to clean shower head filter properly.
Your bathroom should provide you with a sense of renewal and restoration. Bacteria, low water pressure, and mineral buildup can all spiral out of control, turning this space into an unpleasant and potentially deadly environment. Follow a few simple procedures regularly to keep your showerhead clean and in good form for years to come.
Sign up to get the latest on sales, new releases and more …